Raised beds can be very useful in the vegie garden. This blog post discusses the various options that are available and how to go about positioning, making and filling a raised bed.
Why Raised beds?
- Strain - No matter how young or old you are, working with soil quite a bit above ground level makes sowing, weeding, planting and picking a breeze compared to doing it on your knees or bending over.
- Soil - If the soil in your garden is black-clay or mostly-sand, you are setting yourself up for success by creating raised beds with good quality food-garden soil or compost. Don't expect nursery-bought soil or compost to be great, because it rarely is, but it will be a much better starting point than having to improve really dense or sandy garden soil.
What will be the best spot for my new raised bed?
- Sun - Give your vegie bed the sunniest spot you have available.
- Roots - Don't put it right next to bushes or trees because their roots will invade your garden bed.
- Water - Position it not too far away from a tap or hose, so watering is easy.
- Wildlife - Ideally put it where the local wildlife (possums, wallabies, birds, rats) is either fenced out, or may not find it.
- A flat and level surface - Having a food garden on a slope is fine, as long as your garden beds in them are level. To minimise digging, position your raised garden bed as closely as possible to 90 degrees on the slope and then dig away soil as needed to create a perfectly flat and level base. You don't want your raised bed sloping down in any direction. If a bed is not level, soil at one end will often be too wet and soil at the other end too dry.
What are good dimensions for a raised vegie-bed?
- Width - make sure its width is no more than twice the length of your arms, so you can comfortably reach the middle of the bed from either side without standing on it or having to reach beyond your capacity.
- Height - No vegetable root system, including that of carrots and parsnips, will go deeper than 30 centimetres, so your raised bed should be at least 30 centimetres high. A height of around 60 centimetres might make sowing, weeding and picking more comfortable. The perfect height for you will depend on how tall you are, and how much bending you are happy to do. The higher the bed, the more 'stuff' you will need to fill it (see section How to fill my raised bed? below).
- Length - Some gardeners prefer really long raised beds, instead of several shorter ones in a row. Long beds give you a bigger area for your vegetables, but I have seen raised beds that were so long that it was 'quite a walk' to get to the other side of where you are working if you did not allow yourself to walk over the bed. Before you order a nice big pre-fabricated raised bed (see below), consider how the frame will be transported into your garden. (Will it fit through the gate?)
What ready-made raised beds can I buy?
- New vegie-bed kits - if a small raised bed is all you need, a kit from a hardware shop or garden centre can be the way to go, provided that the end product, once you have it assembled, is sturdy. A kit where wood will touch soil is not going to last, and chemicals may leach out of the wood into your soil.
- New pre-assembled garden beds - I see these for sale at road-side stands. They can be fine if they are sturdy and have the right dimensions (see above). I would not trust beds that have legs and are off the ground because soil, especially when it is wet, is heavy.
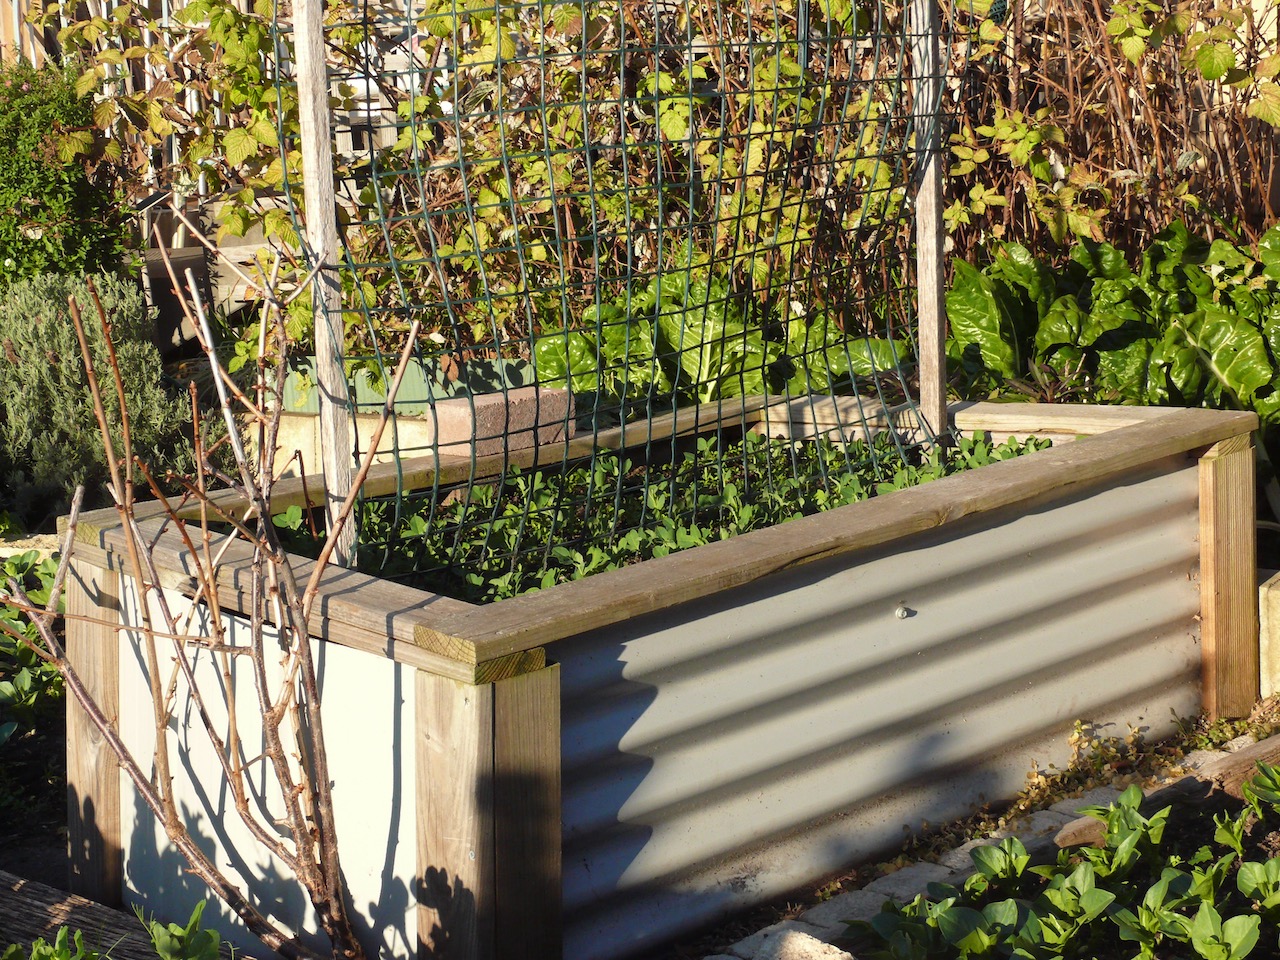
- New steel corrugated garden beds - can now be ordered in virtually any size, height and width. They are very sturdy, extremely durable and come in any Colorbond colour or Zincalume coating. Professionally made corrugated garden beds will have a top edge that has been treated, so you can't cut yourself on the metal. Using a steel corrugated garden bed is not the cheapest option, but it gives you a sturdy and maintenance-free frame that will last decades. Most manufacturers are happy to transport the raised bed to you.
- Re-purposed tip shop items - My favourite shop is the tip shop. Once you open your mind, you will find many items at the tip shop that with little modification can be ready-made raised beds! They may just give your vegie garden the quaint look you are looking for! Laundry tubs, old wheelbarrows, bath tubs, old water tanks, apple crates and large containers are all potential raised garden beds. Make sure the item is chemical-free. You may need to make quite a few holes in the item's bottom so excess water always drains away freely.
What are the best materials if I build a raised bed myself?
- Treated pine - making your own raised bed out of treated pine sleepers or planks has the advantage that you can make a bed of precisely the dimensions you want. However, you do need to consider the chemicals used to preserve the pine. The number one reason for growing your own is to get chemical-free produce, so let's make sure that the chemicals in the treated pine do not end up in your food! Line your treated pine raised bed with a non-toxic impervious material, so nowhere soil touches treated pine. A really good choice for this task are corflute sheets (the kind of plastic sheets used for real estate and election signs, see the second photo below). Corflute sheets (black or white) can be purchased at most hardware stores. They are not easily ruptured by tools, and will last a long time if not exposed to UV. Weed mat is not great because it lets liquids through. Lining treated pine raised beds is also a good idea because over time pine will shrink, expand and warp. If there is no lining, soil will escape out of the bed through gaps that were not there when you made the bed.


- Hardwood - I made some hardwood raised beds 15 years ago and they are still fine today. Check that the timber is straight. Hardwood sleepers are available at saw mills, hardware stores and building supply businesses. They are dearer than treated pine boards, but you don't need to line them (so you save time and money there), and they will last. Visit your local tip shop regularly. You may be lucky and come across a heap of used hardwood sleepers.
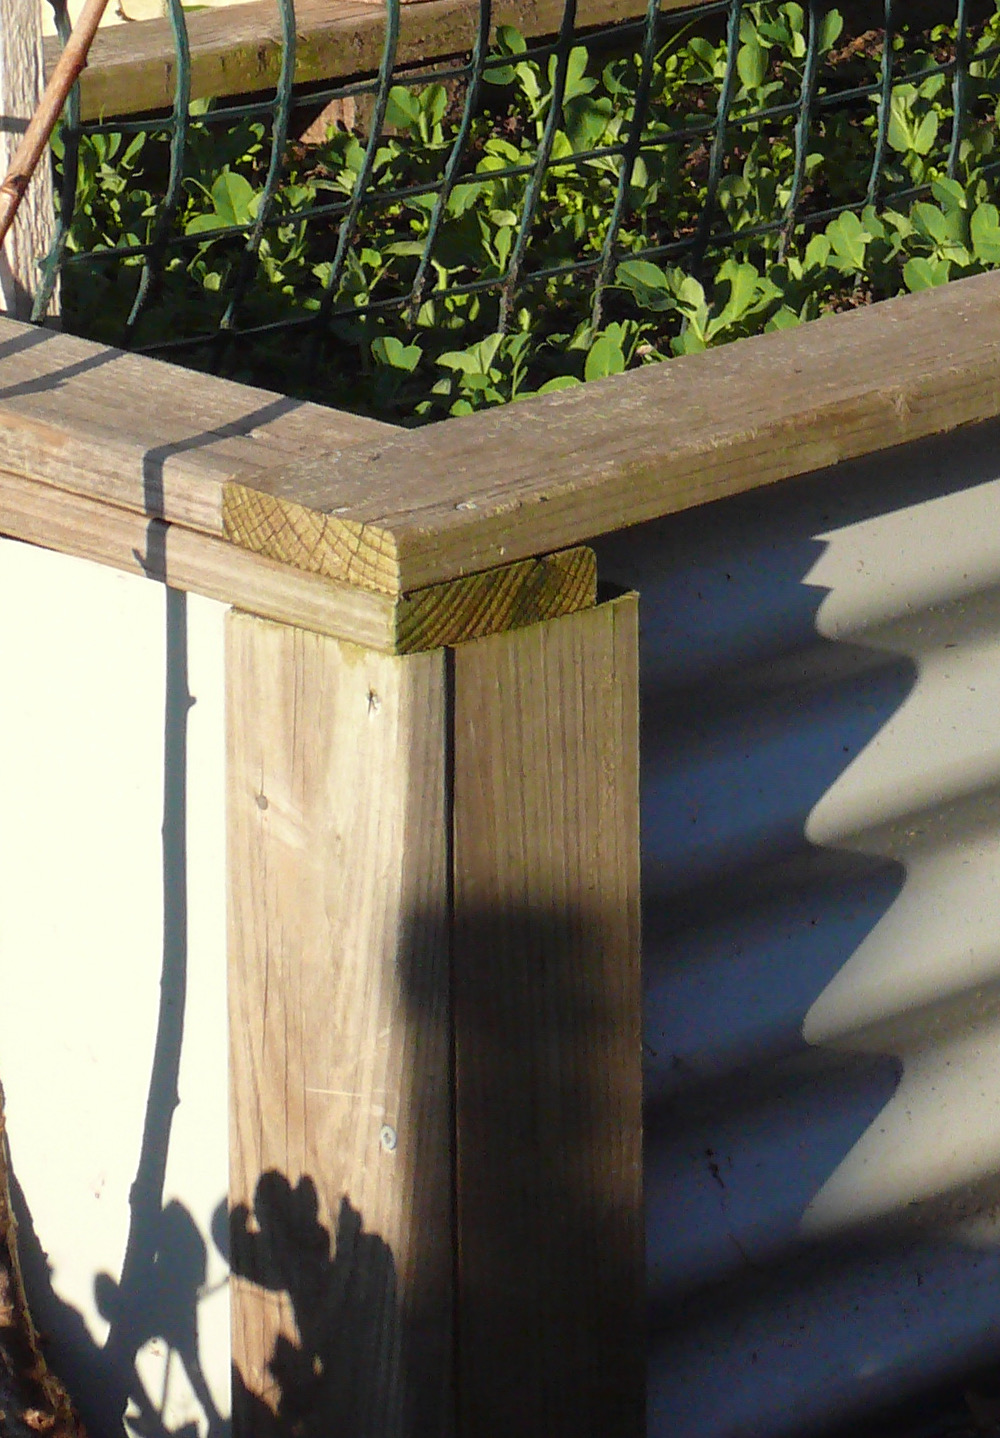
- Galvanised iron sheets - galvanised iron sheets contained in a timber frame are a great material for raised beds because they are durable, easy to cut to any desired size, non-toxic, and cheap if you know where to look. The photos below show a design I used for a number of raised beds. In the photo on the left the frame is upside down before the next sheet is attached. The photo on the right shows the same frame in place in the garden. Nowhere will the treated pine touch the soil in the bed. Make sure you cover sharp metal edges when building your raised bed. My local tip shop regularly has cheap galvanised irons sheets that are ideal for the job!

- Rocks - volcanic rocks can make a very decorative border for a raised bed (see photo below), but they are not cheap, unless you simply collect them from your own rocky block of land. In that case a dry-stone rock wall would be your obvious choice.

- Concrete blocks - can create a good looking raised bed. I made a raised bed out of concrete blocks a decade ago (photo below). It will last for ever. However, if I made one again I would do one thing differently: use blocks that make a vertical wall, not blocks that have a lip at the back and 'step back', because with a wall four or five blocks high, the area available for vegetables at the top of the wall will be smaller than envisaged (see left-hand side in photo below).

- Bricks - a raised bed made out of brick and mortar looks great, but mortar is alkaline, and that alkalinity may leach into the soil and make the pH rather higher than you want it to be. If you are keen to build a raised bed out of bricks, great, but line the inside of the raised bed with corflute sheets or some other impervious material (see above).

What do I fill my new raised bed with?
That is a silly question you may say. You just buy a trailer load of vegie-garden soil or compost and chuck it in. I did that in 2012 when I filled my first large raised bed (see photo below).

- a 10 centimetre layer of not too fine blue metal pebbles
- cover that with a layer of geo-textile so the next layer is not going to invade the layer of pebbles
- a 15 centimetre layer of shredded branches and leaves
- a 30 centimetre layer of soil with a fair amount of gypsum added (to avoid compacting)
- leaving 5 centimetres of the height of the raised bed for mulch


For the top layer I used soil from my compost heap mixed with some gypsum to make sure that the soil is not going to become too dense in years to come.

The Hügelkultur layer will turn into compost over time. As a result the soil will sink somewhat. At that stage you could add some soil or compost, but that is not essential. Just organise the soil layer in the same way you do for your ground level beds, eg dig or no-dig.
The raised bed in the photo above we purchased from Tasmanian company TankTec. We paid $180 (April 2021) for a bed 1500 mm. long x 600 high x 700 wide. It is sturdy and has rolled edges.
I hope you found this useful,
Max Bee
Here at medium rise apartment building The Commons Hobart we are learning fast about installing planters of various shapes and sizes, and growing food and ornamentals on balconies. I can recommend the Biofilta Food Cube and the Vegepod. These are both waterwell and wicking beds, and are raised so that bending is minimal. More details here: http://commonshobart.com.au/
ReplyDelete